Windows. The king of desktop operating systems with a market share of nearly 75% in the desktop operating system space. And even for its next closest competitor, Macintosh, it will be tough to catch up to it.
As a result of its dominating position in the market, many apps are made for this operating system. And in a lot of instances, they struggle to be kept error-free due to the crazy demand. One statistic showed that almost all crashes that happen in Windows are due to bugs in the software.
These crashes are annoying. You can choose to restart your PC and keep going, hoping that they won’t happen again; or you can choose to find the source of the crash and do your best to fix the underlying issue.
Fortunately, reading dump files makes that easier than we’d have expected it to be. You might need a bit of technical expertise to really get anything fixed after you open the dump file, but you always have to start somewhere.
Speaking of starting somewhere, where are the dump files even stored on Windows? Well, stick around. I will show you the dump file location of Windows 10 in just a few. Let’s get right into it.
Do you have a particular question about dump file location in Windows 10? Then use the table of contents below to jump to the most relevant section. And you can always go back by clicking on the black arrow in the right bottom corner of the page. Also, please note that some of the links in this article may be affiliate links. For more details, check the Disclosure section at the bottom of the page.
Here's what we'll cover:
What are Win dump files?
When Windows crashes, everything comes to a halt. In many instances, the only option left is to force the computer to shut down or restart. There’s no hint as to what caused the problem, which would be pretty bad for people who work with software and computers. It means there would be no way to figure out what the problem was and fix it.
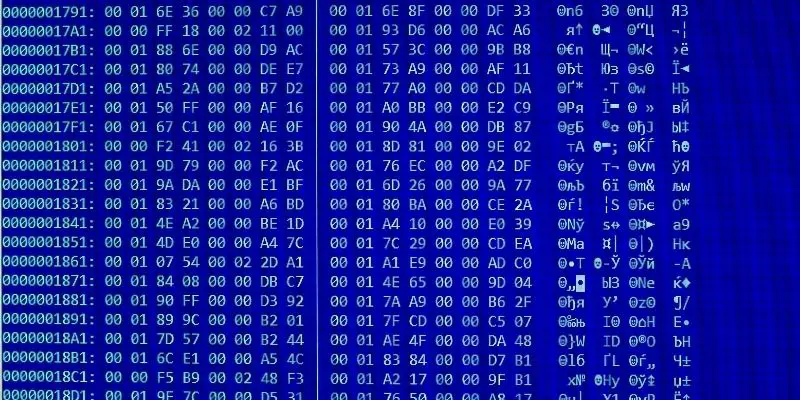
That’s exactly what Windows dump files are there for. These files are created when a computer crashes, such as when that infamous blue screen pops up on you. They store the data that was on the PC’s RAM at the time that the crash occurred. This gives invaluable insight into what caused the crash in the first place.
By utilizing a Windows dump file properly, the cause of a crash can be figured out and rectified. Everyone’s happy, right?

Windows Dump File Location
If that sounds like good news to you, you must have gone looking for your Windows dump files right away. You need to put an end to those pesky crashes, after all. After searching through, you’ve realized you don’t know the Windows dump file location.
Worry not, for I have your back. Fortunately, the Win dump file location isn’t in some deep corner of your hard drive. Follow these steps to locate the Windows dump in just a few seconds.
- Navigate to the hard drive that you have Windows installed on. It is typically the C: drive.
- Once there, go to the “Windows” folder.
- Now, you’re already in the dump location. Now you just need to find the actual file.
- You can tap ‘M’ to jump straight to the files that start with that letter. Otherwise, you can navigate manually until you find a file named “MEMORY.DMP.”
- That’s the dump file that you’re looking for!

How to open a dmp file Windows 10?
There’s no point going through all this trouble to track down your dump files location if you can’t even figure out a way to actually view the dmp file and its contents.
Fortunately, this is one of those things that seems very intimidating to do but is actually quite simple to get sorted in practice. To open the dump file to get started on troubleshooting, simply follow the instructions below:
- You will need to make use of a Windows tool known as WinDbg.
- You have to install the tool. However, it is important to ensure that there is no malicious software masquerading as the real thing.
- Once installed, click on the Start button.
- Using the search bar, search for “WinDbg.”
- Right-click on the corresponding entry that appears and selects “Run as administrator.”
- When the application opens, click on “File.”
- Now, click on “Start debugging.”
- Click “Open dump file.”
- Now you have to navigate to the location of the dump file. If you copied it out of the Windows dump file location, simply move to wherever you placed it.
- Select the Windows dump file and press “Open.”
- From here, WinDbg will begin the process of loading the Windows dump up.
- Once it is done, type in the following: !analyze -v
- Press Enter once you’ve done this, and the program will begin to analyze the file.
- Once it is done with this, you can then check the information it has provided to try and find the culprit of your crash.
While you might not interpret what it is trying to tell you, knowing how to do this can make IT support sessions several times easier. You can simply send them the dump files to read instead of having them come all the way over to do that.
Credits: Thanks for the photo to Canva.

At ipoki.com we only mention the products that we’ve researched and considered worthy. But it’s important to mention that we are a participant of several affiliate programs, including Amazon Services LLC Associates Program, an affiliate advertising program designed to provide a mean for us to earn fees by linking to Amazon.com and affiliated sites. As an Amazon Associate ipoki.com earns from qualifying purchases.


