We geeks are natural, gadget-obsessed tinkerers who love to build things both for practical reasons and just because we find it fun. We also love to surround ourselves with our favorite gadgets, pop culture references, and collectibles. And what we love above everything else is when we can combine our creative nature with our insatiable desire building objects that we can proudly display for others to admire.
What you’ll find in this article are three geeky DIY home décor projects that use technology to create something beautiful. Depending on how equipped you are, you might have to purchase a few tools or devices to make them happen, but we can promise you that all of them are a worthy investment.
3D Printed Ball-Jointed Doll
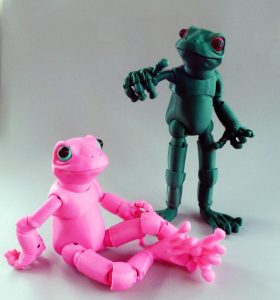
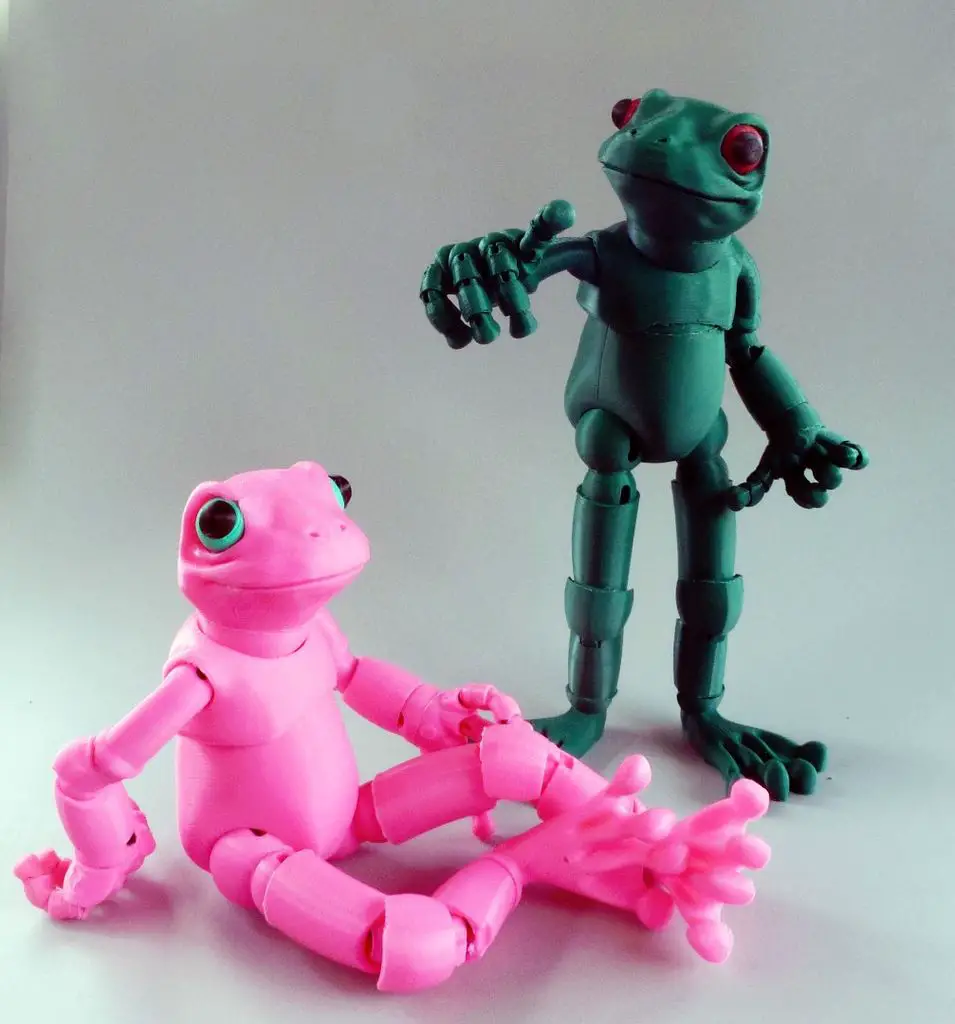
 This 3D printing project comes from Loubie3D, who’s successfully created a ball-jointed frog doll using a consumer-level 3D printer and regular household tools. Loubie3D has kindly published the model for the frog doll on Thingiverse for others to download and possibly even modify.
In a nutshell, you need to print all the provided parts and assemble them together using glue and elastic string. If you would like to take the project a step further, you could make clothes for your frog doll to make it feel less exposed when you display it next to your action figures.
As far as 3D printing goes of the parts goes, we highly recommend the . This 3D printer is for people who are new to 3D printing. It ships fully assembled, and it’s ready to start printing as soon as you plug it into an electrical outlet. The 3D printer uses non-toxic PLA as its printing material, and it produces only 50 dB of noise while printing.
FlashForge recommends using the 3D printer with the company’s own 3D printing software: FlashPrint. Just like the printer itself, FlashPrint is simple to use for complete novices while delivering professional results.
Equipped with the FlashForge Finder 3D printer and the FlashPrint software, you can easily build upon the skills and experience you acquire while making the frog doll and create a whole range of ball-jointed action figures. This project could even be the start of a successful online shop selling custom 3D printed action figures. To start with this business venture get your printer .
Reclaimed Wood DIY Wall Art
For this amazingly simple yet absolutely stunning project by Creativity Hero, you only need a jigsaw and a cordless drill, as well as a few basic hand tools and some wood glue. You basically glue together a bunch of pine wood flooring boards to create a solid base on which you glue a wooden animal cutout. Creativity Hero went with a bear, but you can, of course, cut out whichever animal you want. Animal outlines are easy to find online. We recommend Pixabay, but even Google Images should give you good results.
While you could theoretically create the cutout with a handsaw, a cordless jigsaw makes the job much, much easier. There’s no reason to spend hundreds of dollars on a jigsaw—just about any mid-range jigsaw from a reputable manufacturer should do the trick. We recommend the , which has a built-in dust blower to help you clear debris away as you work and an LED light to improve your line-of-sight in poorly lit conditions.

Keep in mind that Ryobi sells its tools without a battery included, so you’ll have to purchase one separately to use the P523 jigsaw. We recommend the . Because all Ryobi One+ tools use the same type of battery, you can get the to have all the power tools needed for this project.
Raspberry Pi Zero LED Clock
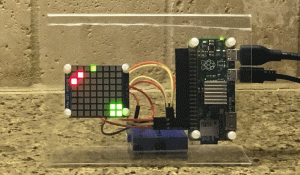
 The is great for making all sorts of internet-connected geeky gadgets, but you can also use it for a lot simpler projects, such as this one from jhaletx, which details how to make a Pixel Clock.
Jhaletx defines a Pixel Clock as an electronic timepiece that displays the current time in a non-traditional way, using pixels in a unique format. The clock is controlled by a simple Python script, which Jhaletx includes with their instructable, which explains the project step by step.
If you already have enough clocks and would rather use the to make something more challenging, you could try hacking together a Raspberry Pi Zero security camera using this excellent and this detailed tutorial. Get the set .
If you’ve found the information above valuable, please, share it. And thank you for reading.
At ipoki.com we only mention the products that we’ve researched and considered worthy. But it’s important to mention that we are a participant of several affiliate programs, including Amazon Services LLC Associates Program, an affiliate advertising program designed to provide a mean for us to earn fees by linking to Amazon.com and affiliated sites. As an Amazon Associate ipoki.com earns from qualifying purchases.


